Best overall for winter 2026: a wet-sanding and UV-coating kit. Best for light surface haze: a polishing and UV-coating kit. Best for a quick cosmetic cleanup: a wipe-on kit. If you would rather leave the work to a local service, Mountain Everest provides headlight restoration in Fredericton.
- The best DIY headlight restoration kits for winter 2026 pair surface correction with a protective UV finish.
- Choose wet-sanding for visible surface yellowing; choose polishing for light haze.
- Skip a wipe-on kit when the lens has substantial oxidation or pitting.
- Mountain Everest headlight restoration is the local service option for Fredericton drivers who prefer not to do the work themselves.
Why this matters in winter 2026
A cloudy headlight is not always a dirty headlight. Many vehicle lenses are made from polycarbonate. Surface wear and deterioration of the original protective layer can leave them looking yellow or dull even after a wash. Road grime adds another layer of film, so clean the lens before deciding what needs correction.
Winter changes the work area, too. A restoration kit needs the conditions stated in its instructions, particularly for its final protective finish. Do not assume a coating will apply or cure properly on a cold, wet lens. In Fredericton, New Maryland, Oromocto, Hanwell, Lincoln, and Keswick Ridge, choose a suitable dry work area before you open the kit. If you do not have one, wait rather than rush the finish.
The distinction is surface haze versus damage you cannot reach from outside. A DIY kit works on the exterior face of the lens. It will not remove moisture trapped inside a headlight assembly, repair a cracked lens, or replace a failed lamp. Identify the problem first; otherwise, even careful sanding targets the wrong surface.
What makes the best DIY headlight restoration kit?
Judge the kit by the condition of the lens and the work you can finish—not by how clear the lens looks while it is wet. These criteria set the ranking for 2026:
- Correction method: Abrasives remove damaged exterior material. A polish tackles lighter haze; sanding gives you a more involved route for heavier surface oxidation.
- Protective finish: Look for a stated UV-protection step after correction. An unprotected finish is an incomplete restoration plan.
- Work-area requirements: Check the kit's application and curing instructions against the place where you will work. Winter weather is not a substitute for those instructions.
- Paint protection: Check whether the method allows you to mask surrounding trim and painted panels before you abrade the lens.
- Condition match: Surface yellowing, deep pitting, cracks, and internal condensation are different problems. A kit should match the first, not promise to fix the rest.
- Time and control: Sanding demands more care than polishing. A wipe-on step asks less of you but corrects less surface damage.
These are selection criteria, not promises about any particular kit. Read the contents and directions of the product you choose. A package that supplies a coating but no meaningful way to remove heavy oxidation does not become a heavy-oxidation solution because it says restoration on the front.
At a glance: kit types for winter 2026
| Kit type | Best for | Standout feature | Key limitation |
|---|---|---|---|
| Wet-sanding and UV-coating kit | Visible exterior yellowing | Abrasive correction followed by protection | Requires careful, even sanding and suitable coating conditions |
| Polishing and UV-coating kit | Light surface haze | Less aggressive correction with a protective finish | Cannot reliably remove deeper damage |
| Wipe-on kit | Quick cosmetic cleanup of a lightly affected lens | Minimal abrasive work | Does little for substantial oxidation or pitting |
The table ranks approaches, not named products. No manufacturer, kit contents, or test results were supplied for a product-level ranking. For 2026, choose the method that fits the lens rather than treating three different methods as interchangeable purchases.
1. Wet-sanding and UV-coating kit: best for visible yellowing
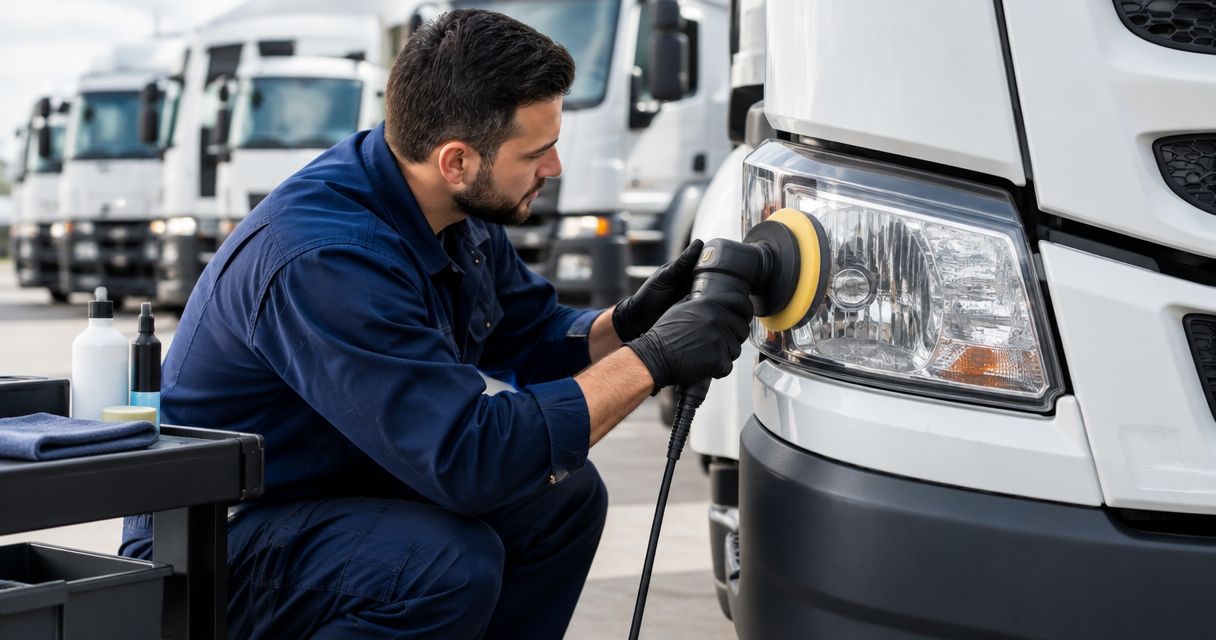
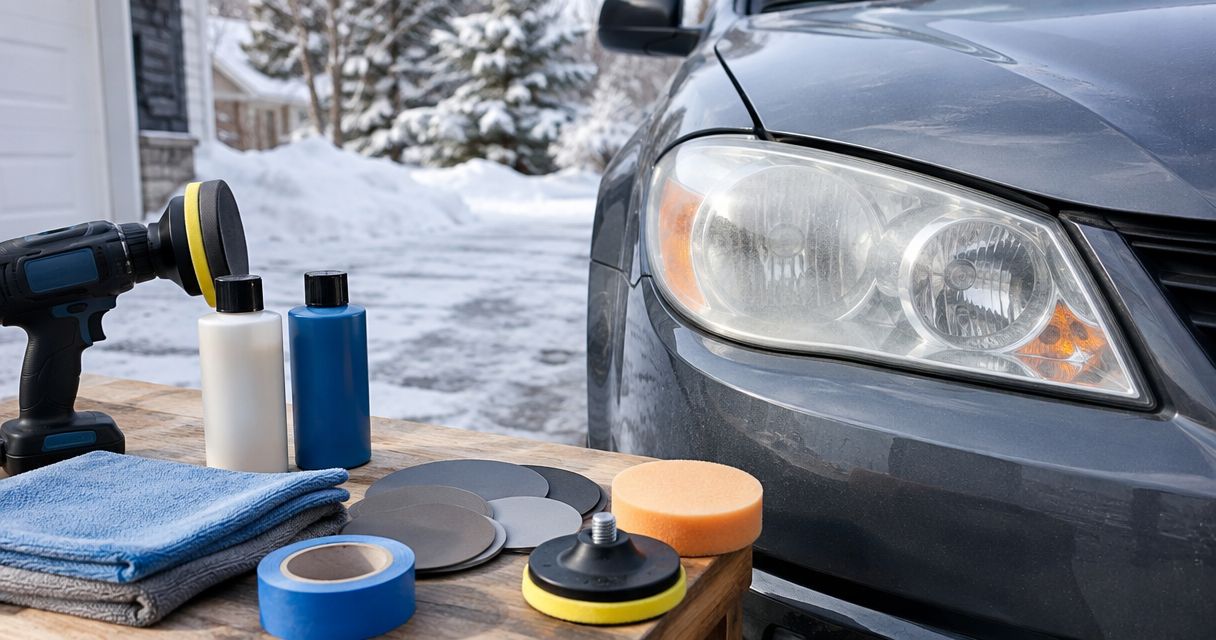
A wet-sanding kit removes damaged material from the outside of the lens through an abrasive sequence. The finishing step protects the newly exposed surface. This is the strongest DIY match in the list for clear exterior yellowing because it addresses the affected layer rather than only changing its appearance.
The result depends on execution. Sand evenly, follow the kit's specified abrasive order, protect adjacent surfaces, and complete the finishing step as directed. Stopping when the lens looks clear while wet is not the same as checking the dry, finished lens.
Wet-sanding and UV-coating kit pros:
- Targets visible surface oxidation directly.
- Gives you a defined correction step before the protective finish.
- Lets you inspect the lens between abrasive stages.
Wet-sanding and UV-coating kit cons:
- Uneven sanding can leave a visibly uneven finish.
- The abrasive work can damage nearby surfaces if you fail to protect them.
- A cold or damp work area can conflict with the coating's instructions.
Best for: A driver who can identify exterior yellowing and has a suitable place to complete the full process.
Verdict: Buy for pronounced surface yellowing if you can follow every correction and finishing step. Skip it for a cracked lens or moisture inside the assembly; sanding outside cannot solve either problem.
2. Polishing and UV-coating kit: best for light surface haze
A polishing kit uses a less aggressive correction step before its protective finish. It suits a lens that looks mildly dull after cleaning but does not have a heavy yellowed layer to remove. The coating matters here too: polishing addresses the current surface appearance, while the finishing step addresses protection.
This is not a shortcut around diagnosis. Wash and dry the lens, then look for pits, cracks, or haze behind the outer surface. If the exterior shows more than light wear, a mild polish can leave the main problem visible.
Polishing and UV-coating kit pros:
- Matches light exterior haze without starting with the more involved sanding method.
- Includes both correction and protection as selection criteria.
- Gives you a clear point to reassess the dry lens before finishing.
Polishing and UV-coating kit cons:
- Has limited value against substantial surface yellowing.
- Does not fix internal condensation, cracks, or deep pitting.
- Still requires the finishing conditions stated in its instructions.
Best for: A driver whose cleaned lens has light, exterior-only dullness.
Verdict: Buy for light haze when the kit includes a suitable UV-protection step. Hold if you cannot yet tell whether the haze is on the outside; check the assembly before polishing.
3. Wipe-on kit: best for quick cosmetic cleanup
A wipe-on kit applies a surface treatment with little abrasive correction. That makes it the simplest method here, but also the easiest to overestimate. A lens with a damaged, yellowed outer layer needs that layer addressed; wiping a finish over it is not equivalent to removing it.
Read what the kit actually asks you to do before calling it restoration. Some products include preparation steps, and those steps matter. Judge the dry lens after cleaning, not the temporary appearance of a freshly wetted surface.
Wipe-on kit pros:
- Requires less hands-on abrasion than the other approaches.
- Suits a limited cosmetic task on a lightly affected exterior surface.
- Gives you a straightforward way to test whether a minimal approach meets your expectations.
Wipe-on kit cons:
- Does not provide the same abrasive correction as a sanding kit.
- Is a poor match for substantial oxidation or visible pitting.
- Cannot address a problem inside the headlight assembly.
Best for: A driver seeking a limited cosmetic improvement on an already clean lens with minimal surface wear.
Verdict: Hold for a lightly affected lens. Skip if the lens is distinctly yellow: choose a method that corrects the exterior surface instead of coating over the problem.
Check the lens before you start
A headlight can look cloudy for more than one reason. This short inspection keeps a 2026 kit purchase tied to a problem the kit can actually address:
- Clean lens: Wash off visible road film and let the surface dry. Remaining haze is easier to assess without dirt in the way.
- Mask paint: Before using abrasives, protect the surfaces immediately around the lens as the kit directs.
- Check the outside: Look across the dry exterior for yellowing, dullness, scratches, and pits. Surface correction works on this face of the lens.
- Check the inside: Look for moisture or haze behind the exterior face. Exterior polishing will not reach it.
- Check the finish: Confirm you can complete the protective step under the conditions specified by the kit.
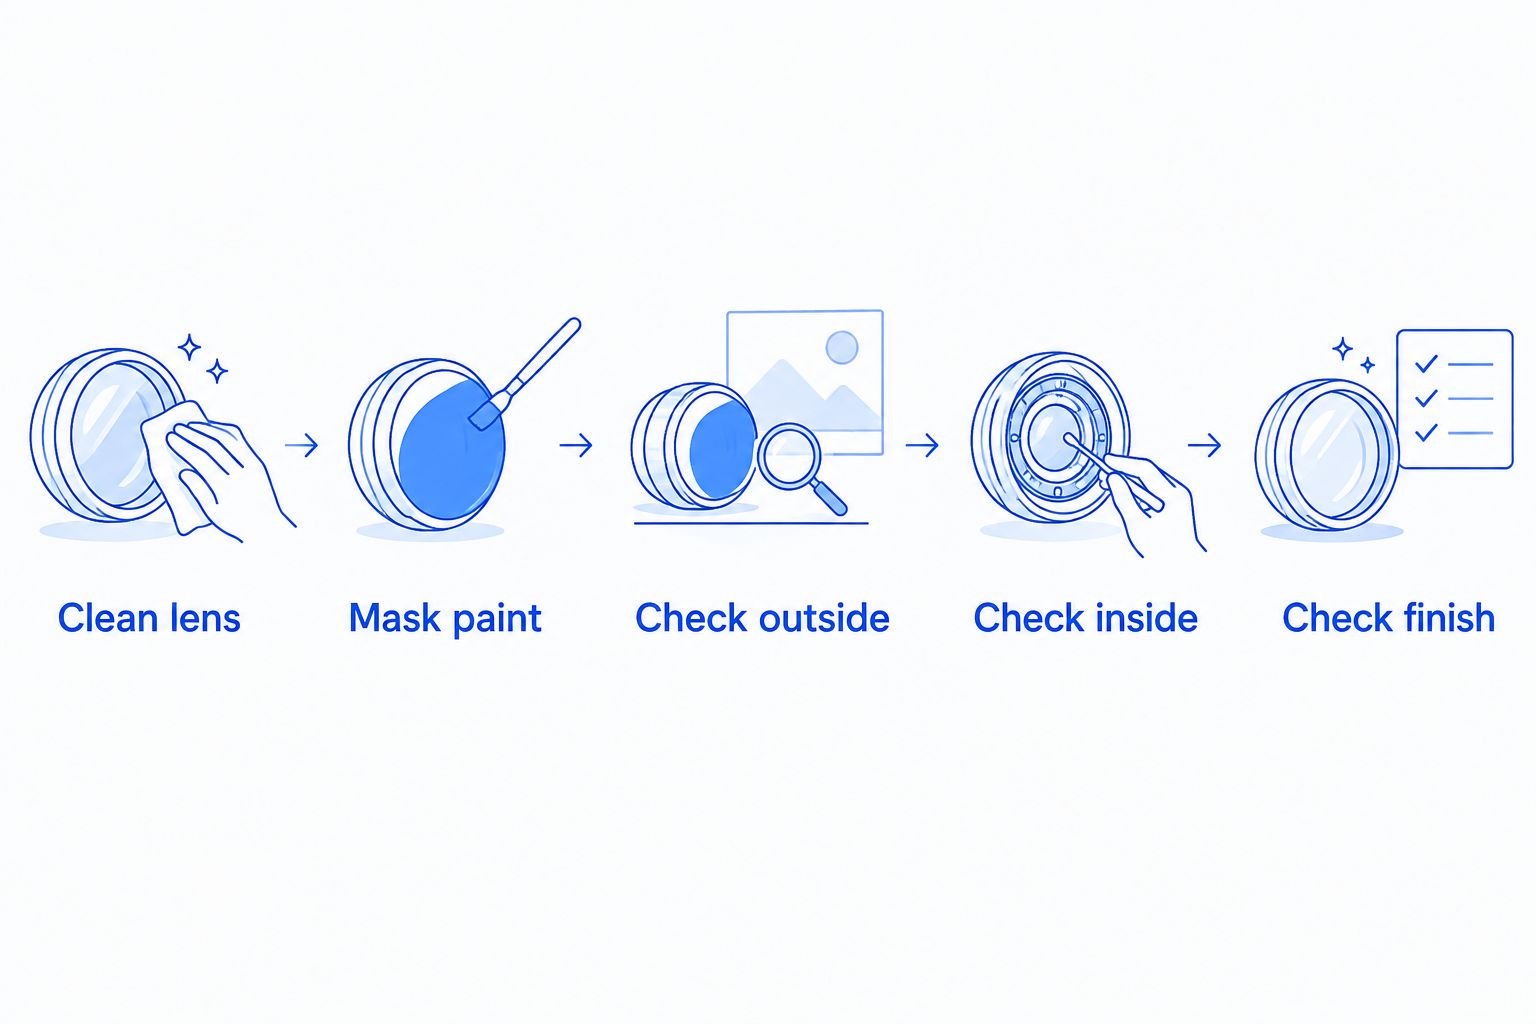
If the exterior is cracked, stop treating clarity as the only question. If moisture sits inside the assembly, focus on that fault instead of sanding the outside. If the lens is simply dirty, cleaning can reveal that no restoration is needed. These outcomes are less dramatic than a before-and-after photo, but they prevent work on the wrong problem.
How to work through a DIY restoration in winter
Follow the kit's instructions over a generic checklist. The method below describes the decision points shared by abrasive restoration approaches; it does not replace a manufacturer's abrasive sequence, safety directions, or coating requirements.
- Start with a dry diagnosis. Clean the lens and decide whether the remaining haze is on the outer surface. Examine the headlight with its lights off so reflections do not hide the finish.
- Prepare the work area. Protect adjacent paint and trim. Check the product's conditions for applying and finishing its coating before you begin removing material.
- Correct only as directed. Use the kit's abrasive sequence without jumping to a harsher stage because progress looks slow. Keep the work even across the affected exterior area.
- Inspect before coating. Remove residue as directed and assess the dry lens. A shiny wet surface can conceal uneven correction.
- Complete the protective step. Apply the specified finish and respect its handling and curing instructions. Do not treat a lens as done because it looks clear before that step is complete.
For winter 2026, the practical constraint is not the calendar. It is whether your work area meets the instructions from start to finish. Starting the abrasive work without a workable plan for the coating leaves the most important final decision until too late.
When a local service makes more sense
Mountain Everest headlight restoration is best for Fredericton drivers who prefer a local service over doing exterior lens correction themselves. That is a choice about who performs the work, not a claim that a service can repair every headlight fault. Describe what you see on the lens before deciding between a kit and an appointment.
Choose DIY when the exterior problem is identifiable, you are comfortable with the kit's abrasive steps, and you can finish the protective stage under the stated conditions. Choose a service when you want someone else to handle the exterior restoration or you do not have a suitable winter work area. Neither route turns an exterior treatment into a fix for internal moisture or a cracked assembly.
For vehicle owners in the Fredericton area, the useful comparison is the entire job versus the entire job: diagnosis, preparation, correction, and finish. A quick wipe looks easier because it leaves out much of the correction. A sanding kit asks more of you because it actually addresses a damaged exterior layer. Keep that difference in view when choosing in 2026.
How these kit types were ranked
Correction came first, protective finishing second, and suitability for winter work third. Wet-sanding ranks highest for visible exterior yellowing because it has a correction step suited to that condition. Polishing follows for lighter haze. Wipe-on treatment ranks last because minimal correction limits where it makes sense.
This is a ranking by use case, not a durability test or a judgment on specific manufacturers. A well-matched mild method beats an aggressive method applied to the wrong problem. Likewise, a kit with a protective finish is only useful if you can apply that finish as instructed.
Which headlight restoration kit should you choose?
Default pick: a wet-sanding and UV-coating kit for a visibly yellowed exterior lens. It has the clearest match between the problem and the correction method. If the cleaned lens shows only light haze, choose a polishing and UV-coating kit instead. Reserve a wipe-on kit for limited cosmetic work, not substantial oxidation.
Do not buy any of the three to solve condensation behind the lens or a crack in the assembly. For winter 2026, check the finish instructions before committing to DIY; the right abrasive method is not enough if you cannot complete its protective step. Mountain Everest remains the local headlight restoration option when you would rather have the exterior work handled for you.
FAQ
What are the best DIY headlight restoration kits for winter 2026?
A wet-sanding and UV-coating kit is the best match for visible exterior yellowing. A polishing and UV-coating kit suits light haze; a wipe-on kit is limited to minor cosmetic work.
Is a polishing kit better than a wet-sanding kit?
A polishing kit is the better match for light surface haze. Wet-sanding is the more involved option when the exterior has visible yellowing that a mild polish does not address.
Can I restore headlights outside in winter?
Only work outside when the kit's application and curing instructions allow the conditions you have. A cold or wet lens is not a suitable starting point if those instructions require different conditions.
Will a DIY kit fix moisture inside a headlight?
No. DIY restoration works on the exterior lens surface and cannot remove moisture trapped inside the assembly.
Do I need a UV finish after sanding a headlight?
Choose a restoration approach that includes a protective UV-finishing step. Sanding corrects the exterior surface; the finish is a separate part of the job.
Can a headlight restoration kit repair a cracked lens?
No. Exterior sanding, polishing, and wipe-on treatments do not repair a cracked lens.
When should I choose a headlight restoration service instead of a kit?
Choose a service when you prefer not to perform the exterior correction yourself or lack a work area that meets the kit's instructions. Describe the lens condition first, especially if you see cracks or internal moisture.
One last thing
The reveal happens on the dry, finished lens, not while sanding water or polish makes the surface look temporarily clear. In 2026, make that your final check before calling a DIY restoration complete. Clarity returns when the correction is even and the protective step is done; the finish is the proof.