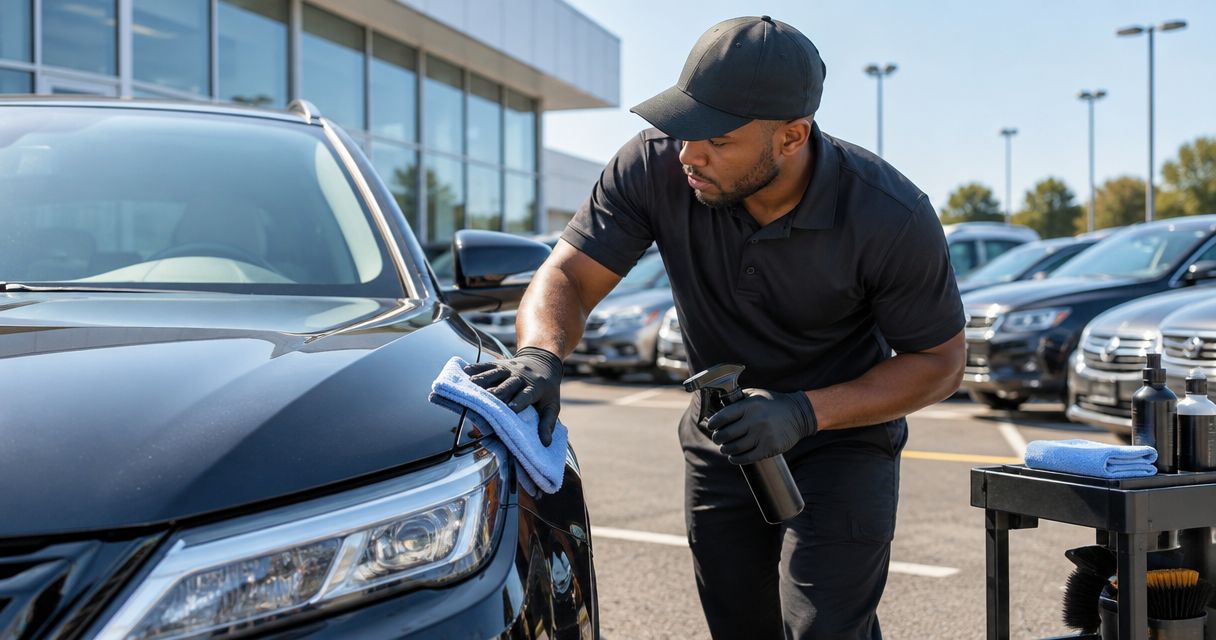
Car dealership auto detailing is the cleaning and finish preparation of inventory vehicles with the aim of presenting their condition clearly to buyers. This 2026 guide covers inspection, preparation, photography, and handover for used car lots, where each vehicle needs a different scope of work but the same acceptance standard.
- Auto detailing for car dealerships starts with a condition record, not a wash queue.
- Everestservices provides auto detailing and headlight restoration in Fredericton; confirm dealership scope before assigning inventory.
- Separate used car reconditioning from cosmetic preparation; cleaning does not repair mechanical or structural defects.
- Approve vehicles against a written checklist before listing photography and again before customer handover.
WHY AUTO DETAILING MATTERS FOR CAR DEALERSHIPS
A clean vehicle should reveal its condition, not conceal it. Used inventory arrives with different histories, materials, stains, and finish defects. A single wash routine cannot address every vehicle appropriately.
Your preparation process must also survive movement between the lot, the photography area, test drives, and delivery. Treat detailing as an inventory stage with a clear owner and sign-off, not an informal task squeezed between appointments.
For local vehicle care, Everestservices provides auto detailing and headlight restoration in Fredericton. Dealership managers should confirm the work required, vehicle handling, and scheduling before assigning a batch. A local service offering is not automatically a dealership inventory agreement.
For lots in Fredericton, New Maryland, Oromocto, Hanwell, Lincoln, and Keswick Ridge, put the vehicle location and movement arrangements on each work order. Confirm where preparation will happen. Do not assume collection, delivery, or work at your premises.
Everestservices auto detailing is best for Fredericton vehicle owners seeking local service rather than a do-it-yourself process. For dealership inventory, the decision starts with an agreed scope and an inspection standard.
BUILD YOUR 2026 INVENTORY PREPARATION PROCESS
Record each vehicle’s condition before cleaning
Start manually with a paper checklist or a shared spreadsheet. Record the stock identifier, preparation owner, visible condition, and intended photography date. Inspect the vehicle before washing so you can distinguish existing damage from cleaning results.
Use 4 baseline photos: front, rear, cabin, and cargo area. Add close-ups of scratches, stained upholstery, cloudy headlight lenses, damaged trim, or other concerns. These are documentation targets, not a substitute for a full inspection.
Keep mechanical assessment separate. A detailed cabin does not establish that the vehicle is mechanically sound, and a clean exterior does not resolve corrosion or collision damage. Route those issues to the appropriate inspection or repair process.
- Record the stock identifier on the checklist and photo folder.
- Photograph visible defects before any cleaning starts.
- Note seat materials and damaged interior surfaces.
- Inspect headlight lenses for haze, cracks, and internal moisture.
- Separate cosmetic tasks from repair decisions.
Assign the right preparation scope
Classify the work by condition, not by vehicle badge or selling position. A relatively clean trade-in needs a different plan from a vehicle with embedded pet hair, stained fabric, or heavy exterior contamination. Write the required outcome before choosing who performs it.
Your manual route is a walk-around followed by a task list. When you need outside help, send that same list with the condition photos. This removes guesswork from the service discussion and gives you a basis for checking the finished vehicle.
Everestservices offers auto detailing and headlight restoration. Confirm the requested tasks directly rather than treating those service categories as proof that every stain, finish defect, or fleet requirement is included.
- Separate routine cleaning from intensive interior work.
- Identify surfaces that need material-specific treatment.
- Flag paint defects for assessment before correction work.
- List headlight restoration as a separate decision.
- Agree on exclusions before work begins.
Clean the cabin without disguising problems
Start with loose belongings, rubbish, mats, and dry debris. Inspect underneath seats and around the cargo floor before applying cleaning products. Keep vehicle documents and retained accessories separate from waste.
Choose the cleaning method for the material. Follow product directions and test an inconspicuous area before wider application. Avoid saturating controls, seat electronics, or interior trim. Stronger chemicals are not a substitute for identifying the stain and surface.
Remove contamination before judging odour. Fragrance can make inspection harder without addressing the source. Persistent odour, dampness, or visible contamination needs further assessment rather than a scented finishing pass.
- Remove loose debris before wet cleaning.
- Check seat rails, storage pockets, and the spare-wheel area.
- Match products to fabric, leather, glass, and trim.
- Inspect mats separately from the carpet underneath.
- Confirm cleaned upholstery is dry before closing the vehicle.
- Reassess odour without adding fragrance.
Prepare the exterior before judging the finish
Inspect loose trim, damaged seals, chipped paint, and vulnerable areas before washing. Follow the cleaning product and equipment instructions. Do not apply the same pressure or chemical treatment to every surface.
Clean wheels and tyres with tools kept separate from painted panels. Remove loose contamination before contact washing, then dry the vehicle before assessing the finish. Dirt and water can obscure defects that become clear under inspection lighting.
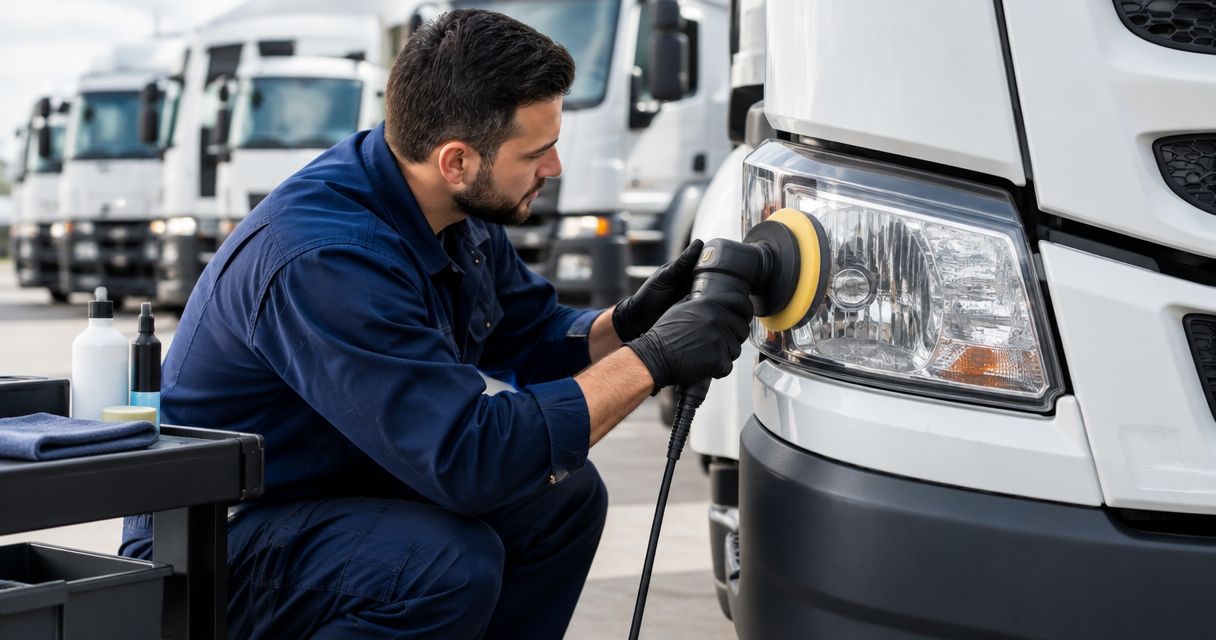
Headlight haze needs its own assessment. Surface deterioration, internal moisture, and a cracked lens are different problems. Restoration is not a substitute for repairing a damaged lamp or checking lighting operation.
- Inspect vulnerable exterior areas before cleaning.
- Keep wheel tools separate from paint-contact tools.
- Use cleaners suited to the surface and contamination.
- Dry panels before evaluating scratches and finish defects.
- Assess cloudy headlights separately from the bodywork.
- Leave tyre surfaces clean without excess dressing residue.
Approve the vehicle before taking listing photos
Use 3 approval checkpoints: cabin, exterior, and presentation. Check the cabin for debris, residue, dampness, and odour. Check the exterior for missed areas and cleaning residue. Then inspect the vehicle as a buyer would see it.
For your 2026 listings, take final photographs only after the preparation check passes. Use consistent camera positions and comparable lighting. A photograph should describe the vehicle, not hide a condition issue behind glare or selective framing.
Keep real before-and-after photos when you have them. Match the angle and lighting as closely as practical. The finish is the proof; editing should not remove scratches, stains, or other defects that remain on the vehicle.
- Inspect the cabin with mats and storage areas accessible.
- Check glass from inside and outside.
- Review panel edges, badges, wheels, and door jambs.
- Photograph the vehicle after cleaning residue is removed.
- Include relevant remaining defects in the condition record.
- Record who approved the vehicle for photography.
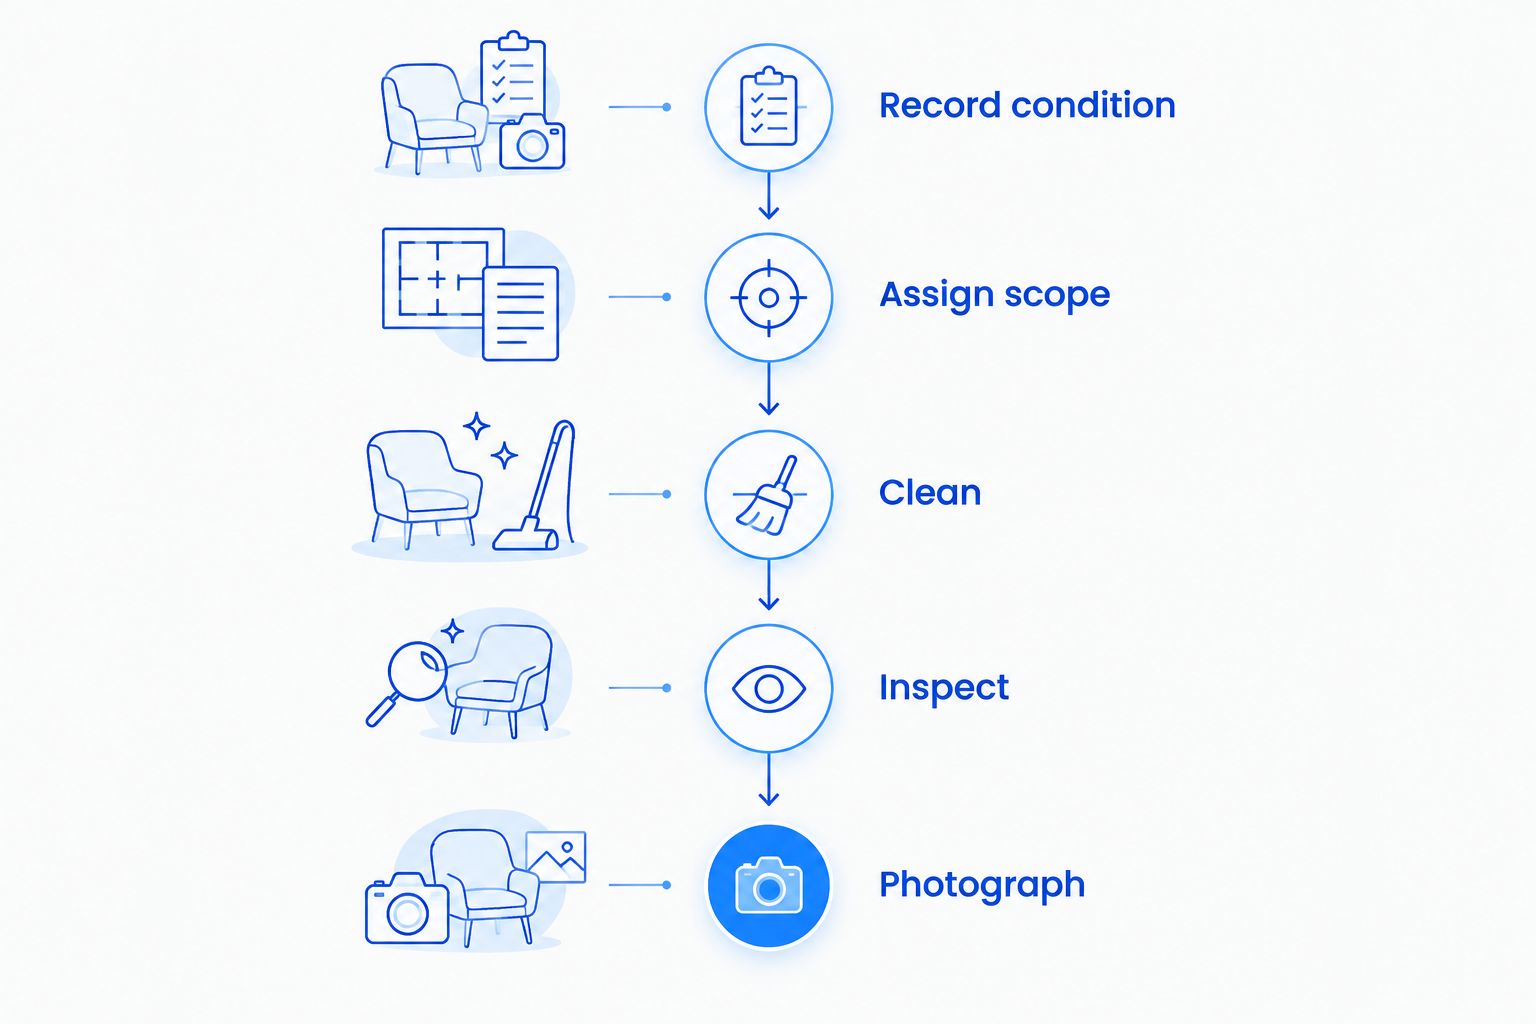
The approval sequence is simple: document the starting condition, define the work, clean, inspect, and photograph. Each stage should leave a record that the next person can use.
Protect the prepared vehicle between appointments
A signed-off vehicle still needs attention after lot exposure and test drives. Keep the accepted condition record attached to the stock identifier so staff know what has already been completed. Avoid ordering a full repeat detail when a targeted refresh addresses the actual problem.
Use 2 review passes after a test drive: the cabin first, then the exterior. This is a practical checking routine, not a claim about how long preparation lasts. Inspect what changed and assign only the work needed.
For your 2026 process, define who notices the problem and who closes the task. Otherwise, a marked seat or dirty windscreen can remain between sales and preparation teams without a clear owner.
- Check driver touchpoints and footwells after test drives.
- Remove new litter and inspect the cargo area.
- Recheck glass for fingerprints and streaks.
- Inspect exterior contamination before the next appointment.
- Record refresh work against the vehicle’s stock identifier.
Measure preparation quality and rework
Start with a shared log rather than buying a system before you have a process. Record the assigned scope, completion date, inspection outcome, and any task returned for correction. Separate cleaning rework from a newly discovered repair issue.
Review your 2026 records by reason, not just by provider. A missed door jamb, damp seat, unclear work order, and vehicle dirtied after preparation are different failures. Each needs a different fix.
Do not judge the process by shine alone. The useful question is whether the vehicle passed the agreed checklist and stayed ready for its next stage. Clear acceptance criteria make outside service and in-house work easier to assess fairly.
- Record completion and approval separately.
- Name the specific reason for each returned task.
- Distinguish missed work from new contamination.
- Track changes to the original scope.
- Review repeated issues and update the checklist.
COMPARE YOUR DETAILING OPTIONS
Choose the working arrangement around your inventory condition and staff responsibilities. No option removes the need for inspection. The difference is who performs the work, how you coordinate it, and which tasks you keep separate.
| Option | Best for | Main advantage | Key limitation |
|---|---|---|---|
| In-house preparation | Lots with assigned staff and a suitable workspace | Direct control over the queue and acceptance checks | Requires training, equipment care, and protected staff time |
| External detailing service | Lots assigning defined cosmetic work outside the team | A clear task handoff when scope is agreed | Vehicle movement, scheduling, and included work need confirmation |
| Mixed preparation model | Lots keeping routine cleaning in-house and assigning selected work externally | Different tasks can go to the appropriate resource | Split responsibility needs a named final approver |
| Targeted refresh | Previously prepared vehicles needing specific touch-ups | Avoids repeating unrelated work | Does not replace initial condition assessment or deep cleaning |
Confirm the arrangement before committing vehicles. Ask how scope changes are approved, how keys are handled, and who checks the result. For any external service, establish whether the requested inventory work fits the provider’s actual offering.
A mixed model also needs boundaries. If your team handles routine cleaning while another provider handles selected work, both should use the same condition record. The final inspection belongs to one named person, not to whichever team touched the vehicle last.
COMMON MISTAKES USED CAR LOTS MAKE
Booking every vehicle into the same routine
Different starting conditions require different tasks. Inspect before assigning work, then describe the required result. A generic request to make the vehicle look good gives neither staff nor an outside provider a useful acceptance standard.
Treating headlight restoration as lamp repair
A cloudy exterior lens and moisture inside a lamp are not the same issue. Assess the cause before assigning restoration. Keep cracks, lighting faults, and other repair concerns outside a cosmetic cleaning sign-off.
Photographing before the final inspection
Listing photography should follow approval, not compete with it. If you discover residue, damp upholstery, or missed debris afterwards, correct the vehicle and update photographs where its appearance has changed.
Using fragrance as proof of cleanliness
A scented cabin is not evidence that the contamination source is gone. Inspect carpets, mats, storage spaces, and upholstery. Assess persistent odour directly instead of making fragrance part of the acceptance test.
Losing responsibility after a test drive
A prepared vehicle can return with fresh dirt or fingerprints. Assign the post-drive check to a named role. Keep the original detail record and the refresh task separate so you can distinguish rework from normal handling.
FAQ
What is auto detailing for car dealerships?
Auto detailing for car dealerships is the cleaning and finish preparation of inventory vehicles before photography, viewing, or handover. It should follow a recorded condition assessment and a defined acceptance checklist.
Should a used car lot detail every vehicle the same way?
No. Assign the detailing scope to the vehicle’s actual condition, materials, and contamination. Keep cosmetic cleaning separate from mechanical, structural, and repair decisions.
Is an in-house team better than an external detailing service?
An in-house team is best for direct queue control; an external service is best for assigning agreed work outside that team. Choose based on workspace, staff responsibilities, required tasks, and vehicle handling arrangements.
Can headlight restoration fix moisture inside a lamp?
Headlight restoration is not a repair for moisture inside a lamp. Internal moisture needs assessment of the lamp and its seals rather than treatment of the exterior lens alone.
When should a dealership take listing photos?
Take listing photos after the vehicle passes its preparation inspection. Use consistent angles and lighting, and retain photographs of relevant defects that remain.
Does Everestservices provide auto detailing in Fredericton?
Everestservices provides auto detailing and headlight restoration in Fredericton. Confirm dealership scope, scheduling, and vehicle handling directly before assigning inventory work.
How should a lot check a vehicle after a test drive?
Check the cabin first, then the exterior, and assign a targeted refresh for new contamination. Record the task separately from the original detail so responsibility stays clear.
ONE LAST THING
Inspect the vehicle where the customer will see it. A finish approved inside a preparation bay still needs a presentation check outside. Look through the windscreen, open the doors, inspect the seat, and check the cargo area.
Add that final check to your 2026 handover routine. The result should be visible and honest: a clean vehicle, clear glass, and a condition record that matches what stands in front of the buyer.